
How to Photograph Document Pages for Translation: Phone Tips and What to Check
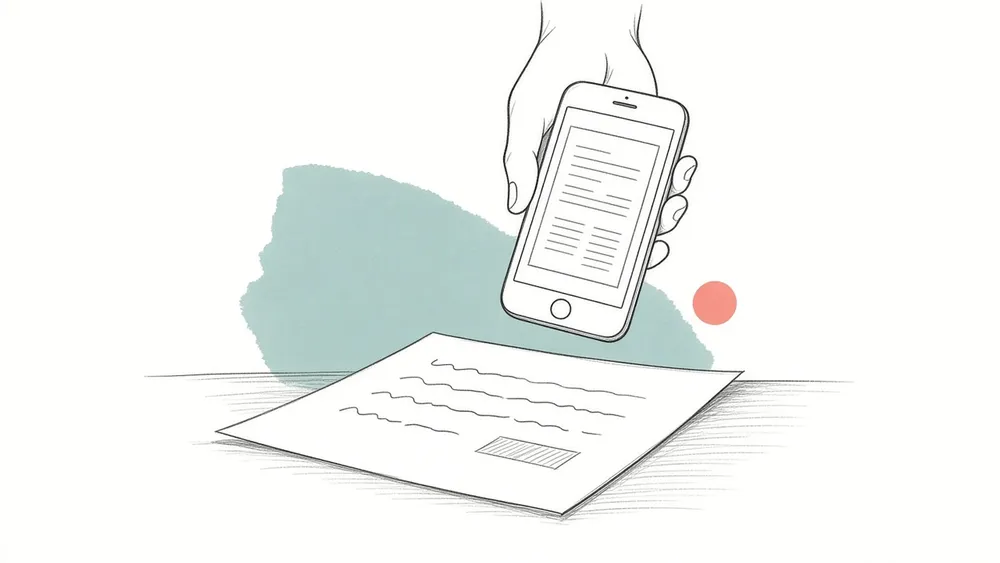
To translate a paper document with your phone, take one straight, evenly lit photo of each page with the whole page in the frame, then upload the photos in reading order. iSomor accepts JPG, PNG and HEIC photos, up to 20 at a time, each up to 20 MB and 50 megapixels. It combines them in your browser into one PDF, one photo per page, and recognizes the text before translating it. Before you start, sign in with Google or an email link and complete verification. The photo is the only copy of the page that the translation sees. Glare, a shadow or a curved line near the spine can make words hard to recognize, and a misread word passes straight into the translation. A few minutes spent on the photos, and a short check afterwards, matter more than anything you do later.
What happens to your photos when you upload them?
When you choose photos instead of a PDF on the iSomor upload page, the photos are prepared on your own device before anything is sent. The upload page says it directly: "Photos stay on this device. Only the PDF made from them is uploaded, when you start translating."
In the browser, each photo is turned upright according to the orientation your phone recorded, scaled so that its longest side is at most 2,560 pixels, and saved again as a JPEG. Saving it again also removes metadata such as location. The photos then become one PDF, "each photo becomes one page of the PDF, in this order", the order you set on the screen.
That PDF has no text layer: it is a picture of each page. iSomor therefore treats it like a scanned document. The text is recognized first and then translated. As with scans, you have to sign in with Google or an email link and complete verification before photos can be translated. The product page is honest about the limits: "Text recognition can misread or omit content, and the translated layout may differ from the original."
One practical consequence of the 2,560-pixel limit: a photo of a whole page will not gain detail after upload. If the smallest print, such as footnotes or a table, is barely readable when you zoom into your photo, it will not be clearer in the PDF.
How do you photograph a page so the text can be read?
Most recognition problems start with the photo, not with the translation. These habits help on any phone.
- Lay the page flat. Put loose sheets on a table. For a book, press it open so the lines near the spine are as straight as possible; curved lines are harder to read.
- Hold the phone straight above the page. Keep the phone parallel to the paper so the page looks like a rectangle, not a trapezoid. The edges of the text should run parallel to the edges of the photo.
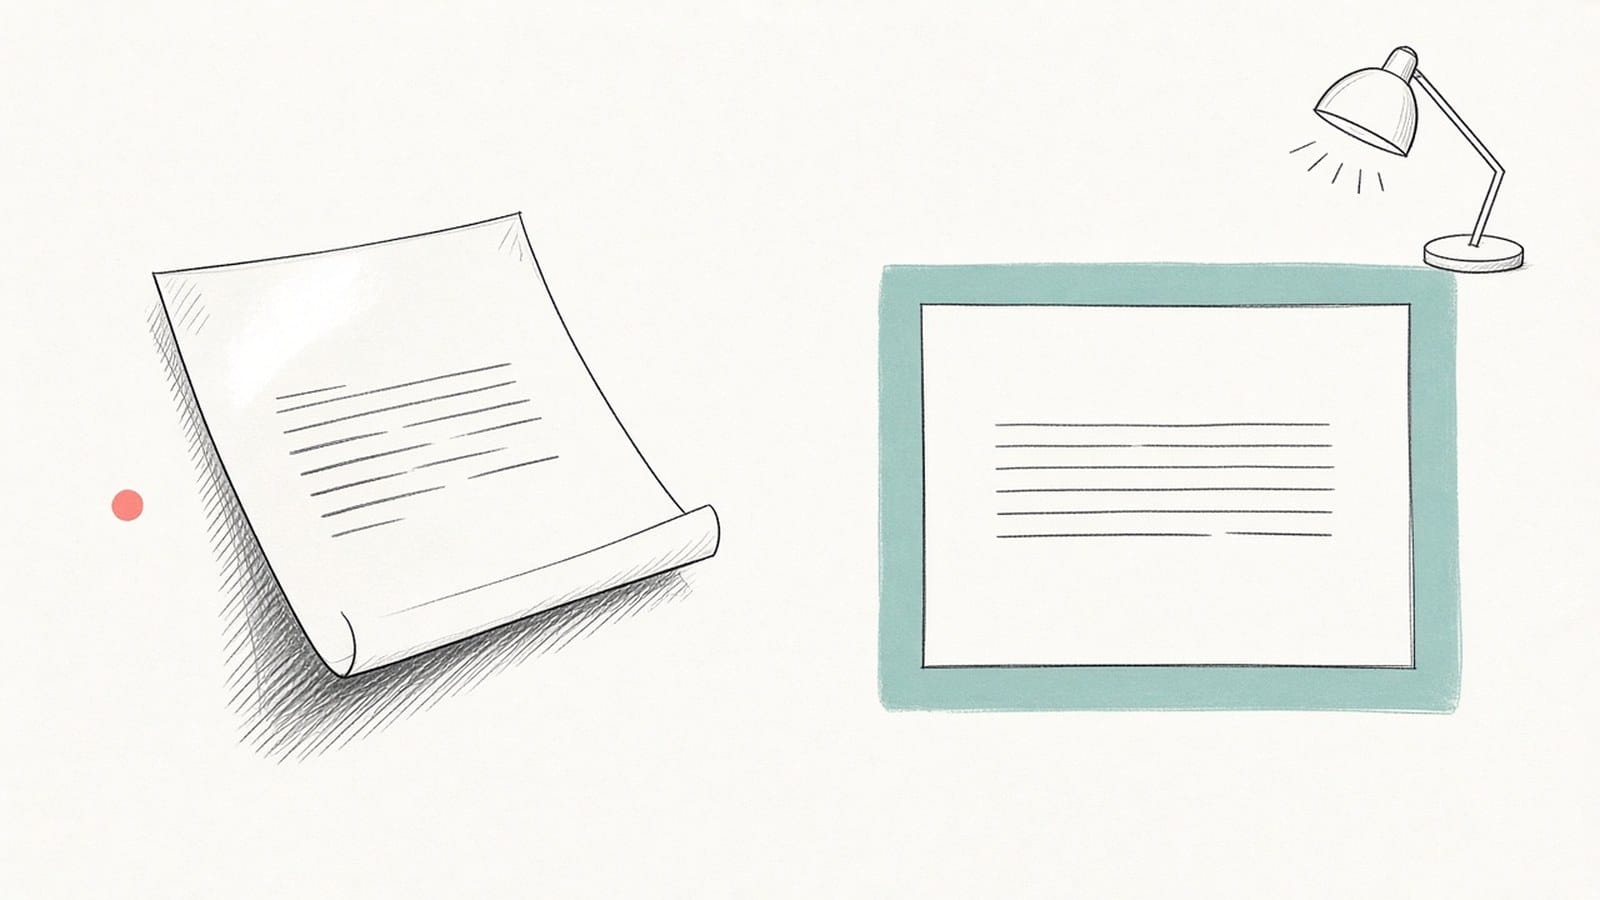
- Use even light and avoid glare. Daylight from a window or a lamp to the side usually works better than the flash. Glossy paper, plastic sleeves and laminated cards reflect light; tilt the page or the light until the bright patch disappears.
- Keep your own shadow off the page. When you lean over the table, your head and phone can shade half the page. Move the light or change your position.
- Fit the whole page in the frame. Include all four edges with a small margin. A cut-off line at the bottom is simply missing from the translation.
- Take one page per photo. Each photo becomes one page of the PDF, so a photo of two facing pages becomes one wide page. Separate photos are easier to check and to put in order.
- Check focus before moving on. Tap the text to focus, hold still, then zoom into the photo. If you cannot read a word on the screen, retake the photo now; it is much easier than going back to the paper later.
Which photo problems cause which errors?
Use this table when a page comes out wrong, or before uploading if a photo looks doubtful.
| Problem in the photo | What can happen | What to do |
|---|---|---|
| Glare or a bright patch | Words inside the patch are missed or misread | Change the angle of the page or the light, and turn off the flash |
| Shadow across the page | Lines in the dark area are read poorly | Move the light to the side or move yourself |
| Curved lines near a book's spine | Words at the inner edge are distorted or skipped | Press the book flatter and photograph each page separately |
| Page cut off at an edge | The missing lines are not in the translation at all | Step back and include all four edges |
| Blurry text | Similar-looking characters, such as 0 and O or 1 and l, can be confused | Tap to focus, hold still, and use more light |
| Small print, such as footnotes | Hard-to-read text stays hard to read after scaling | Move closer to that part, or take an extra photo of it |
These are common effects of photo quality, not guarantees: even a good photo can be misread, and a difficult one is sometimes read correctly. That is why the check after translation matters.
How do you upload and order the photos?
- Sign in and complete verification. Sign in with Google or an email link and finish the verification step. In the product's own words: "Scans and photos require sign-in with a verified account before translation."
- Choose the photos. Select only JPG, PNG or HEIC photos. You can upload one PDF or a set of photos, but not both at once. Renaming a file does not change its format, so a file that is really another format will not be added.
- Put them in order. Drag a photo to change its position. The order on the screen is the page order of the PDF, so check it before you continue, especially if you took the photos out of order.
- Fix any photo that cannot be opened. If your browser cannot open HEIC photos, the page asks you to export them as JPG on your phone or computer, or to open the page in Safari, and then add them again. A photo over 20 MB or 50 megapixels is marked with an error; resize it or remove it before you continue.
- Choose the target language and start. The PDF made from your photos is uploaded at this point, and the text is recognized before translation.
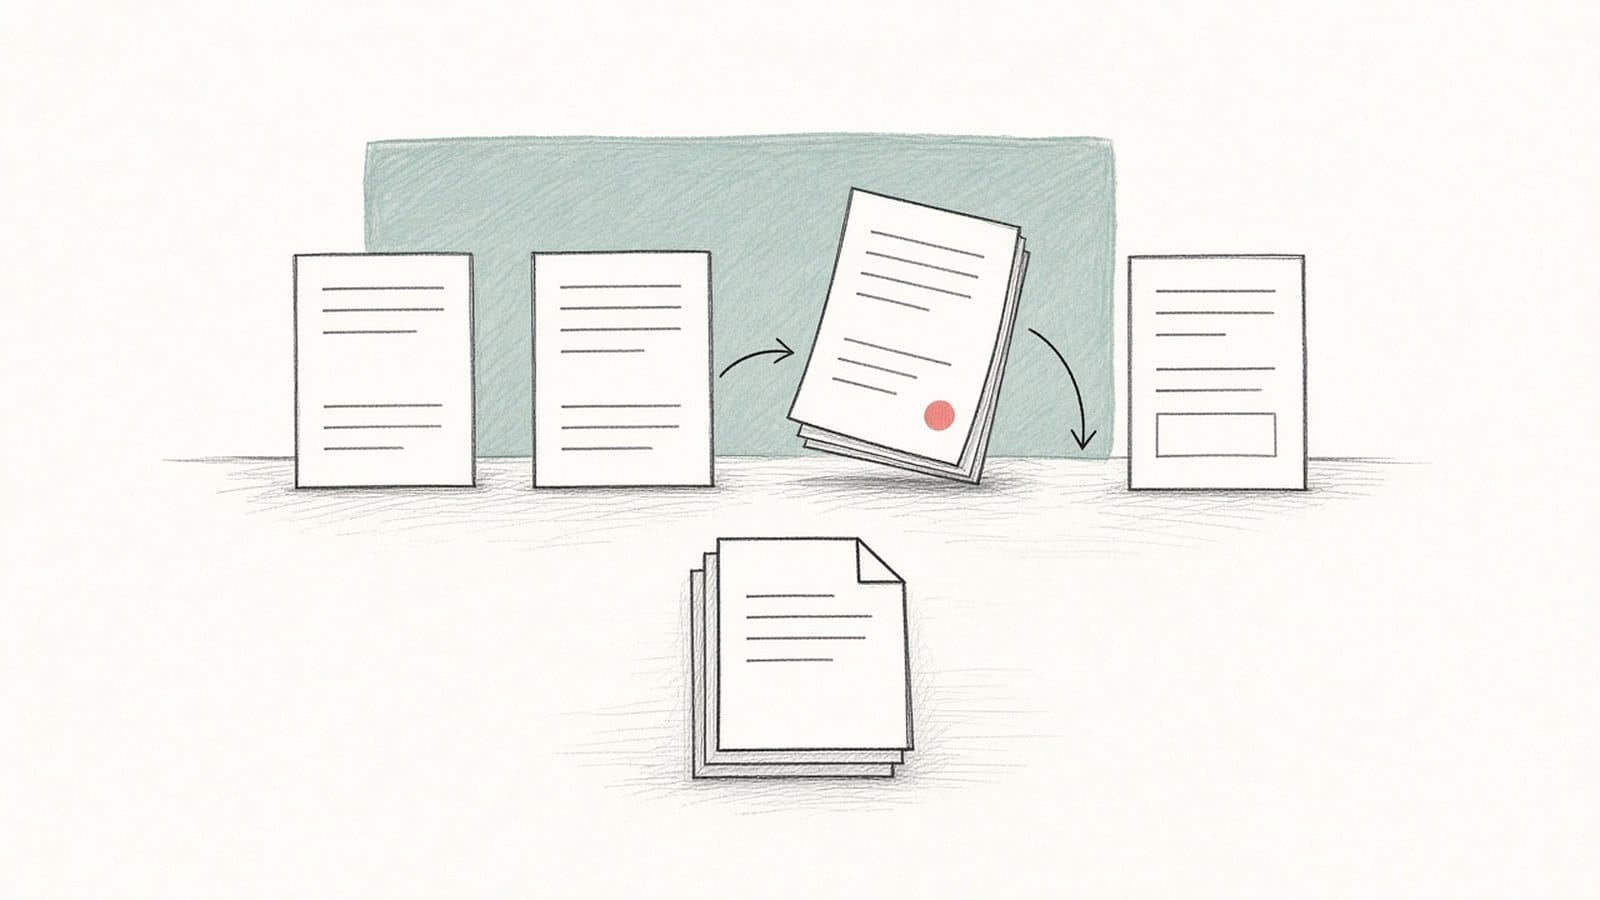
You can add up to 20 photos at a time. For a longer document, split it into several sets in reading order, for example one chapter per set, and translate each set separately.
What should you check after translation?
Keep the paper, or your photos, next to the translation. Recognition happens before translation, so a character read wrongly from the photo is translated wrongly too. Look first at:
- names of people, places and organizations;
- dates, amounts, units, reference numbers and decimal separators;
- small print, stamps, handwritten notes and anything you could barely read in the photo;
- the parts of the page that had glare, a shadow or curved lines;
- the page order, if the document's meaning depends on it.
If one page is clearly worse than the others, the photo is usually the cause: retake it rather than translating the same photo again. The guide on how to translate a scanned PDF explains how recognized text is checked in more detail, and the guide on checking a PDF translation against the original covers numbers, terms and tables. For words that can mean several things, see how to check names and terms in a PDF translation.
What are the limits?
- Photo formats: JPG, PNG and HEIC (HEIF). HEIC opens only in browsers that support it.
- Up to 20 photos per upload, each up to 20 MB and 50 megapixels.
- One upload is either one PDF or a set of photos, not a mix.
- Each photo is scaled to at most 2,560 pixels on its longest side before the PDF is made.
- Photos and scans can be translated only after you sign in with Google or an email link and complete verification.
- Text recognition can misread or omit content, and the translated layout may differ from the original.
- This is not a certified translation. If you need a translation for an official submission, ask the receiving office what it accepts.
FAQ
Is a photo as good as a scan or the original file?
If you can get the original digital PDF, use it: its text does not need to be recognized at all. A flatbed scan is usually more even than a phone photo. When a phone is all you have, the tips above get you closest to a clean scan.
Do I need to turn my photos into a PDF first?
No. The upload page combines the photos into one PDF in your browser. The separate Images to PDF tool is useful only if you want to keep a PDF of the photos for yourself; it accepts JPG and PNG, and it does not add a text layer either.
Can I upload a screenshot?
Yes, a PNG or JPG screenshot can be added like a photo. If the screenshot shows a digital document, though, the original file is a better source, because its text does not need to be recognized.
Are my original photos uploaded?
No. According to the upload page, the photos stay on your device, and only the PDF made from them is uploaded when you start translating. Before that, each photo is saved again as a JPEG without metadata such as location.
Will the translation look exactly like my photo?
Not necessarily. The translation follows the page made from your photo, but the layout may differ from the original. To compare page by page, a side-by-side bilingual PDF keeps the original and the translation together. For an overview of which files iSomor can translate, see What is iSomor?.